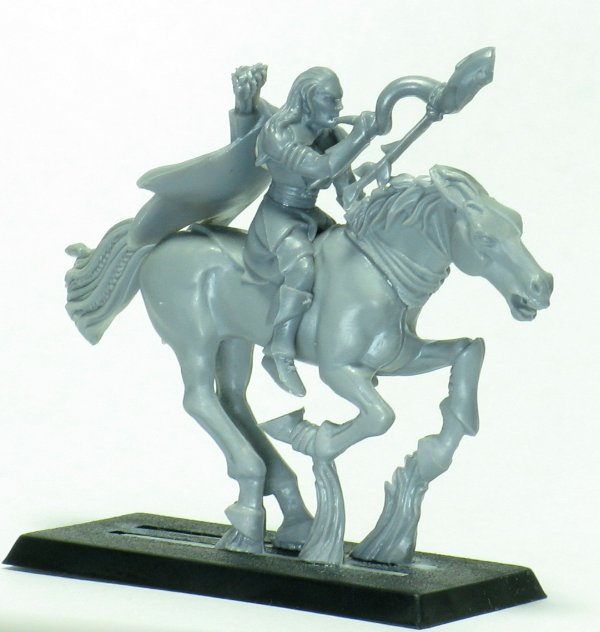
Here’s yet another close-up or macro photography tutorial.
Archive for the 'Painting Tips' Category
Well I’ve had nothing but rotten results with using spray primers and sealers, with the end result that my first 3 miniatures all have a slightly fuzzy and filmy look to them now. After reading up it appears to be the result of the humidity where I live, in Central Florida. I tried some advice I read which said the effects could be lessened by leaving the can of aerosol and the mini outside for several hours so they acclimate to the natural humidity outside, and while the results weren’t as bad as before when I didn’t do this, they still were not good.
So, I’m facing the fact that as long as I live in Florida, where humidity is almost always over 75-80%, I’m going to have to use brush-on primer and sealer.
Someone over at Ars Technica recommended an article that talks about a specific kind of primer called gesso. Sounds interesting! Too bad I just purchased some Reaper primer. Ah well, when it’s running low I’ll give the Liquitex Gesso a go.
Basic Mini Painting Techniques: Alex Castro
Published October 19, 2008 Minis , Painting Tips Leave a CommentFound this great post over at Alex Castro’s site. I’ve not heard of him before, but looking at his work, he is a very experienced painter (though not a gaming miniature guy). Some great thoughts and tips from a master.
Separator:
I use a combination of flat black and red brown in equal proportions. I call this mixture soot. Soot blends in well and I use it to separate flesh from clothing and armor, or a hand holding an item or separating the fingers in a closed fist, etc. This color blends in nicely yet provides a subtle separating.…
Back Stroke:
The best line is made by moving the brush backwards, not forward, and using the sides of the brush, not the point. When you use the point you are basically detailing things and you are in the writing mode. A good technique for the back stroke is pulling backwards on the brush at the same time using the side of the brush to get the straight line as you are painting.
I decided to buy some Vallejo paints and supplies online, and while I was at it, I threw in some Glaze Medium since I had seen it pop up in several well-written tutorials. Kinda silly to buy something I wasn’t really sure how to use, so I set out to find more about it. Found this good article at Brush Thrallls that is entirely on this topic:
Zealot #8 receives a mix of 1:12 VMC 150 : GM. This is my favorite ratio for glazing. If it turns out too light, a second application in selected spots will almost always give me the results I’m after. I premix most of my glazes using this 1:12 ratio.
Now that you’ve got pics of your minis, you need to process them using photo manipulation software. Here’s a good article on how to use the GIMP (Gnu Image Manipulation Program) to get your pics ready for the web. The GIMP is a freeware Photoshop-like application (it’s not an exact clone) you can get here.
Found this helpful hint on a forum:
A little tip for doing Metallics in general is to shade them with paints instead of inks, just make sure you add Glaze Medium to the paint!
Found this article that has some detailed but easy to understand information on how to take good mini photos. It goes into good detail on how to use Aperture Priority mode to set the correct f-stop to get the best depth of field to get your whole mini in focus. Will try tonight, along with suggestions on lighting setup, to see if I can’t get better shots of my 2 minis.
Edit: Not 5 minutes after I came across that article, I found another, very good guide by FineScale Modeler magazine.
Edit2: More goodness:
With the camera set on Manual, adjust the settings so that it reads TWO STOPS over exposed. Read your manual to find out how to do this. Most cameras have three things to adjust : ISO, Aperture, and Shutter. Set the ISO at the lowest possible number, normally 100. This will make your images clean and noisefree. Set aperture at the highest you can, like 16 or 22. This will make your image sharp thru-out. We’ve all seen those pix where the guys sword is in focus, but the rest of the mini is blurred, high aperture will prevent that. With most of the digicams out there, you might not even need to go that high. Experiment to see what you get. Finally, adjust your shutter speed up or down to get the exposure to read 2 stops over. Some cameras will only let you set it so high, like say 5 seconds, and not any longer. If that’s the case, add more lights, or try lowering the aperture.
I found this article on paint and how to thin and extend it very informative for a beginner. I wish I had read it before I did my first piece 🙂 I’ve read a ton of articles, and yet everytime I read a new one I find something I had either already forgotten or that I didn’t know yet.
